Recording Equipment for Beginners. What you Really Need (and What You Don't)
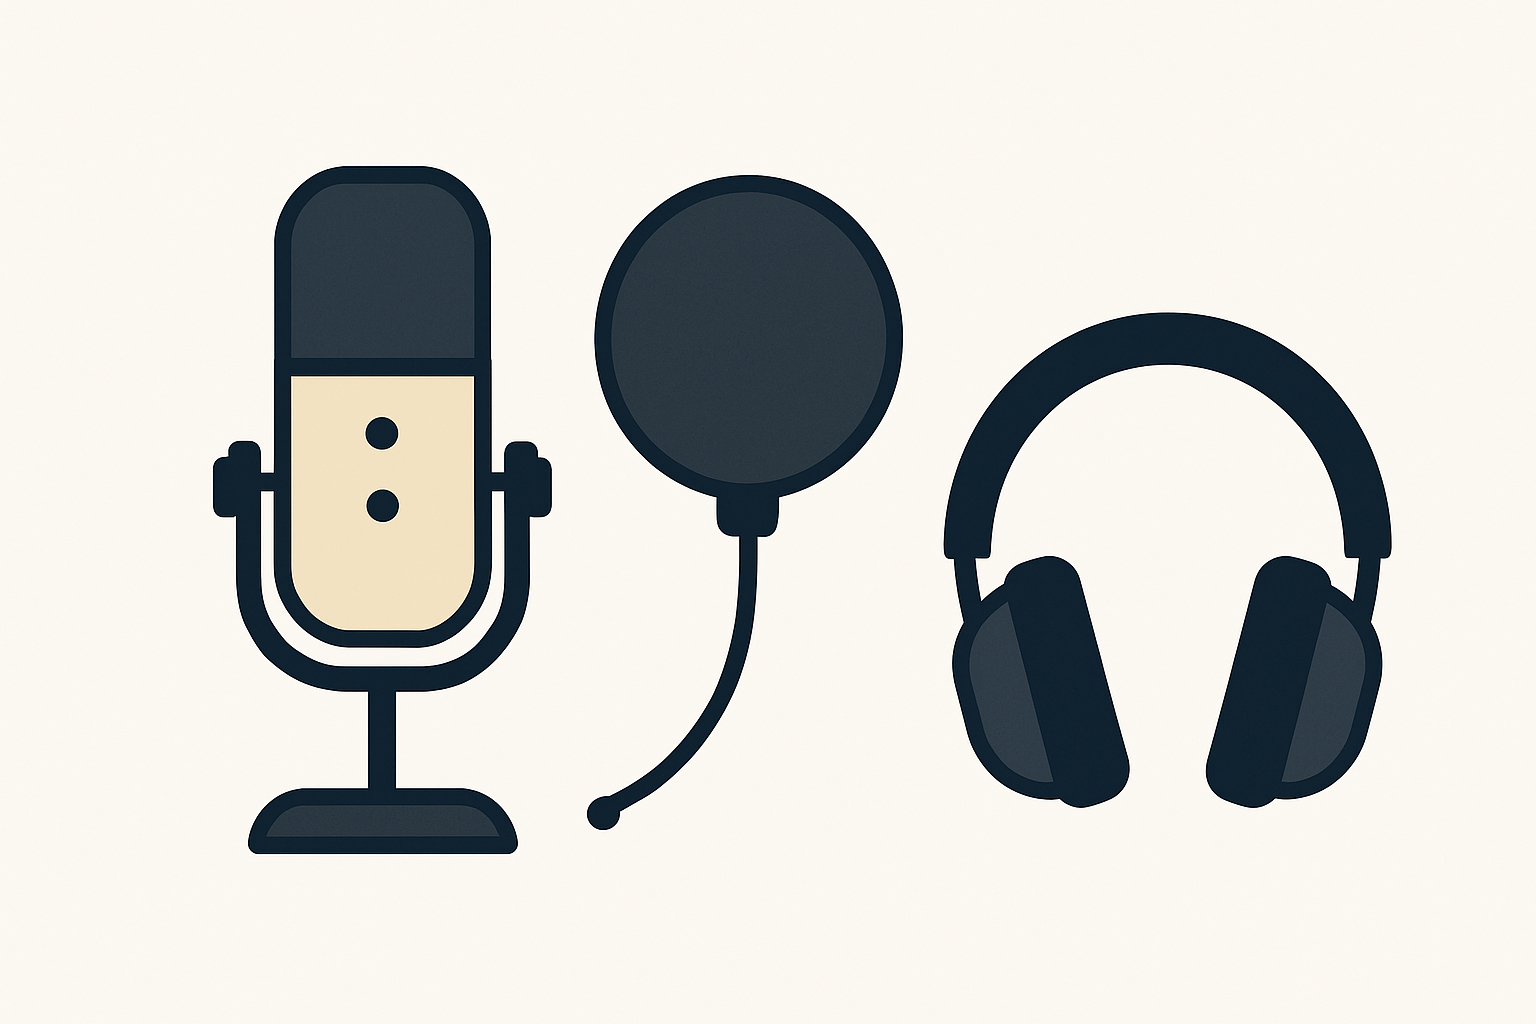
1. Microphone: Your Most Important Tool
Use a Dedicated Microphone
Avoid using your laptop’s built-in mic — it will not sound professional enough for audiobook production. We recommend and XLR setup for optimal quality but it may be possible to use a USB microphone if you ensure that the model can produce ultra low noise floor output.
Recommended starter microphones:
-
Rode NT1
-
Audio-Technica AT 2020
-
Aston Origin
All three are affordable, easy to use, and produce professional-quality results.
Avoid:
-
Headset microphones
-
Built-in computer microphones
-
Smartphone mics
2. Essential Accessories
Pop Filter
A pop filter sits between your mouth and the microphone.
It softens harsh sounds from ‘p’, ‘b’, and ‘t’ sounds, making your audio smoother and more listener-friendly.
Audio Interface (for XLR microphones)
This converts the soundwave to data for the computer to store, and provides the mic with power.
Shock Mount
This Creates a barrier for unwanted sound transference to the microphone
Microphone Stand or Boom Arm
Holding your microphone while recording leads to handling noise.
Use a simple desk stand or boom arm to keep the mic steady and your hands free.
Closed-Back Headphones
Use closed-back headphones (not open-back or earbuds) to monitor your recording.
This helps you catch background noise, mouth clicks, or other issues immediately.
Recommended beginner models:
-
Audio-Technica ATH-M20x
- Beyerdynamic DT 770 Pro 80 Ohm
-
Sony MDR-7506
3. Recommended Extras
Acoustic Treatment
You don't need a full studio.
Recording in a quiet room with soft furnishings (curtains, carpet, cushions) is often enough.
Foam Shields / Reflection Filters
Helpful if your room is echoey
Audio Interface
Only needed if you use an XLR microphone.
If you choose a USB microphone, you don’t need an interface.
4. What You Definitely Don't Need
-
Professional studio hire
-
Multi-thousand pound equipment setups
-
Complex recording software with steep learning curves
A simple, good-quality setup is more than enough to produce a professional audiobook with VoomVox’s enhancement service.
Having the right basics in place means you can focus on telling your story,
and leave the technical polishing to us.